Author Archives: Sandra
Unpacking the Dome
Gallery
This gallery contains 28 photos.
Just some photo’s as I started to unpack the Dome. I wanted to get the manual and DVD out (referenced in previous post). The only problem I had was the two pallets where to close together. I was going to … Continue reading
Dome Manufacture Photos
Gallery
This gallery contains 25 photos.
Finally got into the packaging and found the CD with all the documentation and was happy to see a folder of photo’s from my Domes test assembly so I am going to post them here This … Continue reading
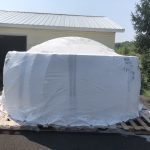
Dome Delivered Today
Gallery
This gallery contains 8 photos.
After a 6 month wait, many twists and turns. delivery issues and planning for the delivery the Dome finally arrived today. I was scheduled for a 8:30 delivery. at 8:35 the driver called to let me know he would not … Continue reading
ScopeDome 4M to be installed
Reply
Well,
I bit the bullet and finally ordered a Dome. So my Roll off roof will be going away and unfortunately my warm room as well.
The Warm Room is too close the main observatory floor and with the dome in-place. the Dome will not clear the warm room wall as it’s built. I would need to move the warm room or make the make floor larger and redo the Pier and I am electing not to do that.
Below are images of my Dome finishing testing at the factory.


Currently the Dome is on the Boat from Poland to Port in New Jersy.
After it arrives there it will be transferred to a flatbed then shipped to my property.
One the Dome hits the US I will start to tear down my existing observatory to the point it will be ready for the Dome
More updates to come on this project.
iTelescope – M83 LRGB Image
Gallery
This gallery contains 1 photo.
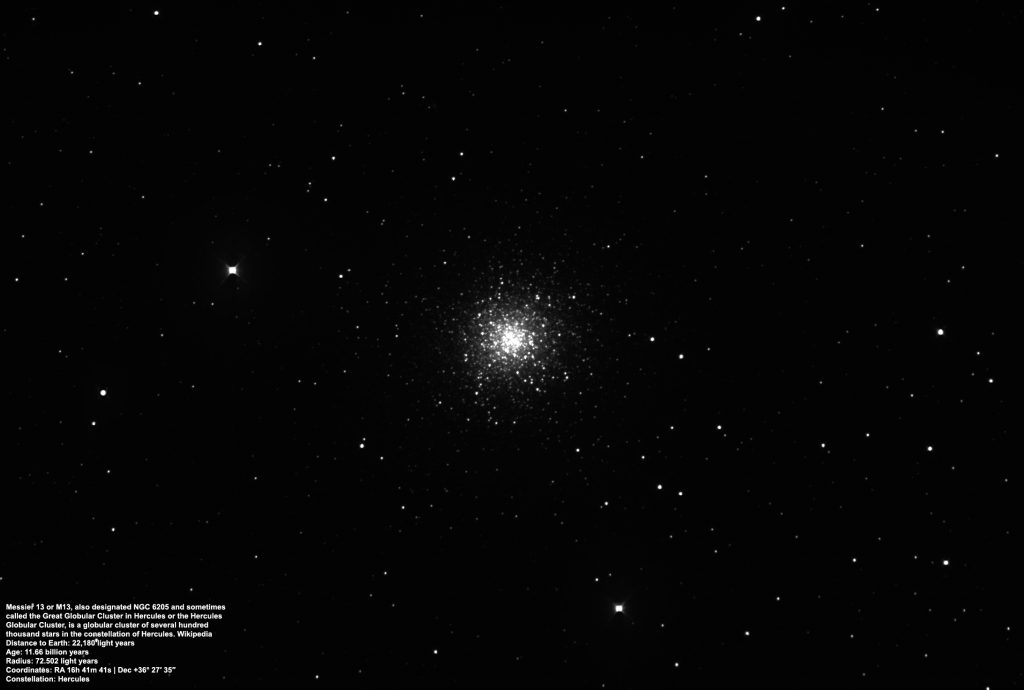
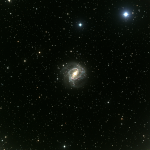
Messier 83 Observation data (J2000 epoch) Constellation Hydra Right ascension 13h 37m 00.9s[2] Declination −29° 51′ 57″[2] Redshift 513 ± 2 km/s[2] Distance 15.21 Mly (4.61 Mpc) [3] Apparent magnitude (V) 7.54[4][5] Characteristics Type SAB(s)c[2] Apparent size (V) 12′.9 × 11′.5[2] Telescope Aperture 500 mm Focal Length 2262 mm (f/4.5) Imager: … Continue reading
New Scope – TPO 16″ F/8 Ritchey-Chretien Truss Tube
Gallery

This gallery contains 3 photos.
Just purchased what will likely be my last scope purchase. A Optcorp TPO 16″ F/8 Ritchey-Chretien Truss Tube. I will just say this thing is massive and barely fits my backyard observatories 11.6×11.6 roll off roof observatory with the roof … Continue reading
Trying iTelescope.net out
Decided to try iTelescope.net out and this the initial result.
I did have troubles that’s weren’t clear from the messages. like Not having access after paying for a plan. come to find out if you don’t complete your member details (address for example) you can not image.
Also, I did this in LRGB (not really a good choice for LRGB though as a test) but during the Blue pass the auto-guider had trouble and ruined the image. Fortunately, the refund system is quite easy and got that refunded and will retry the exposure.
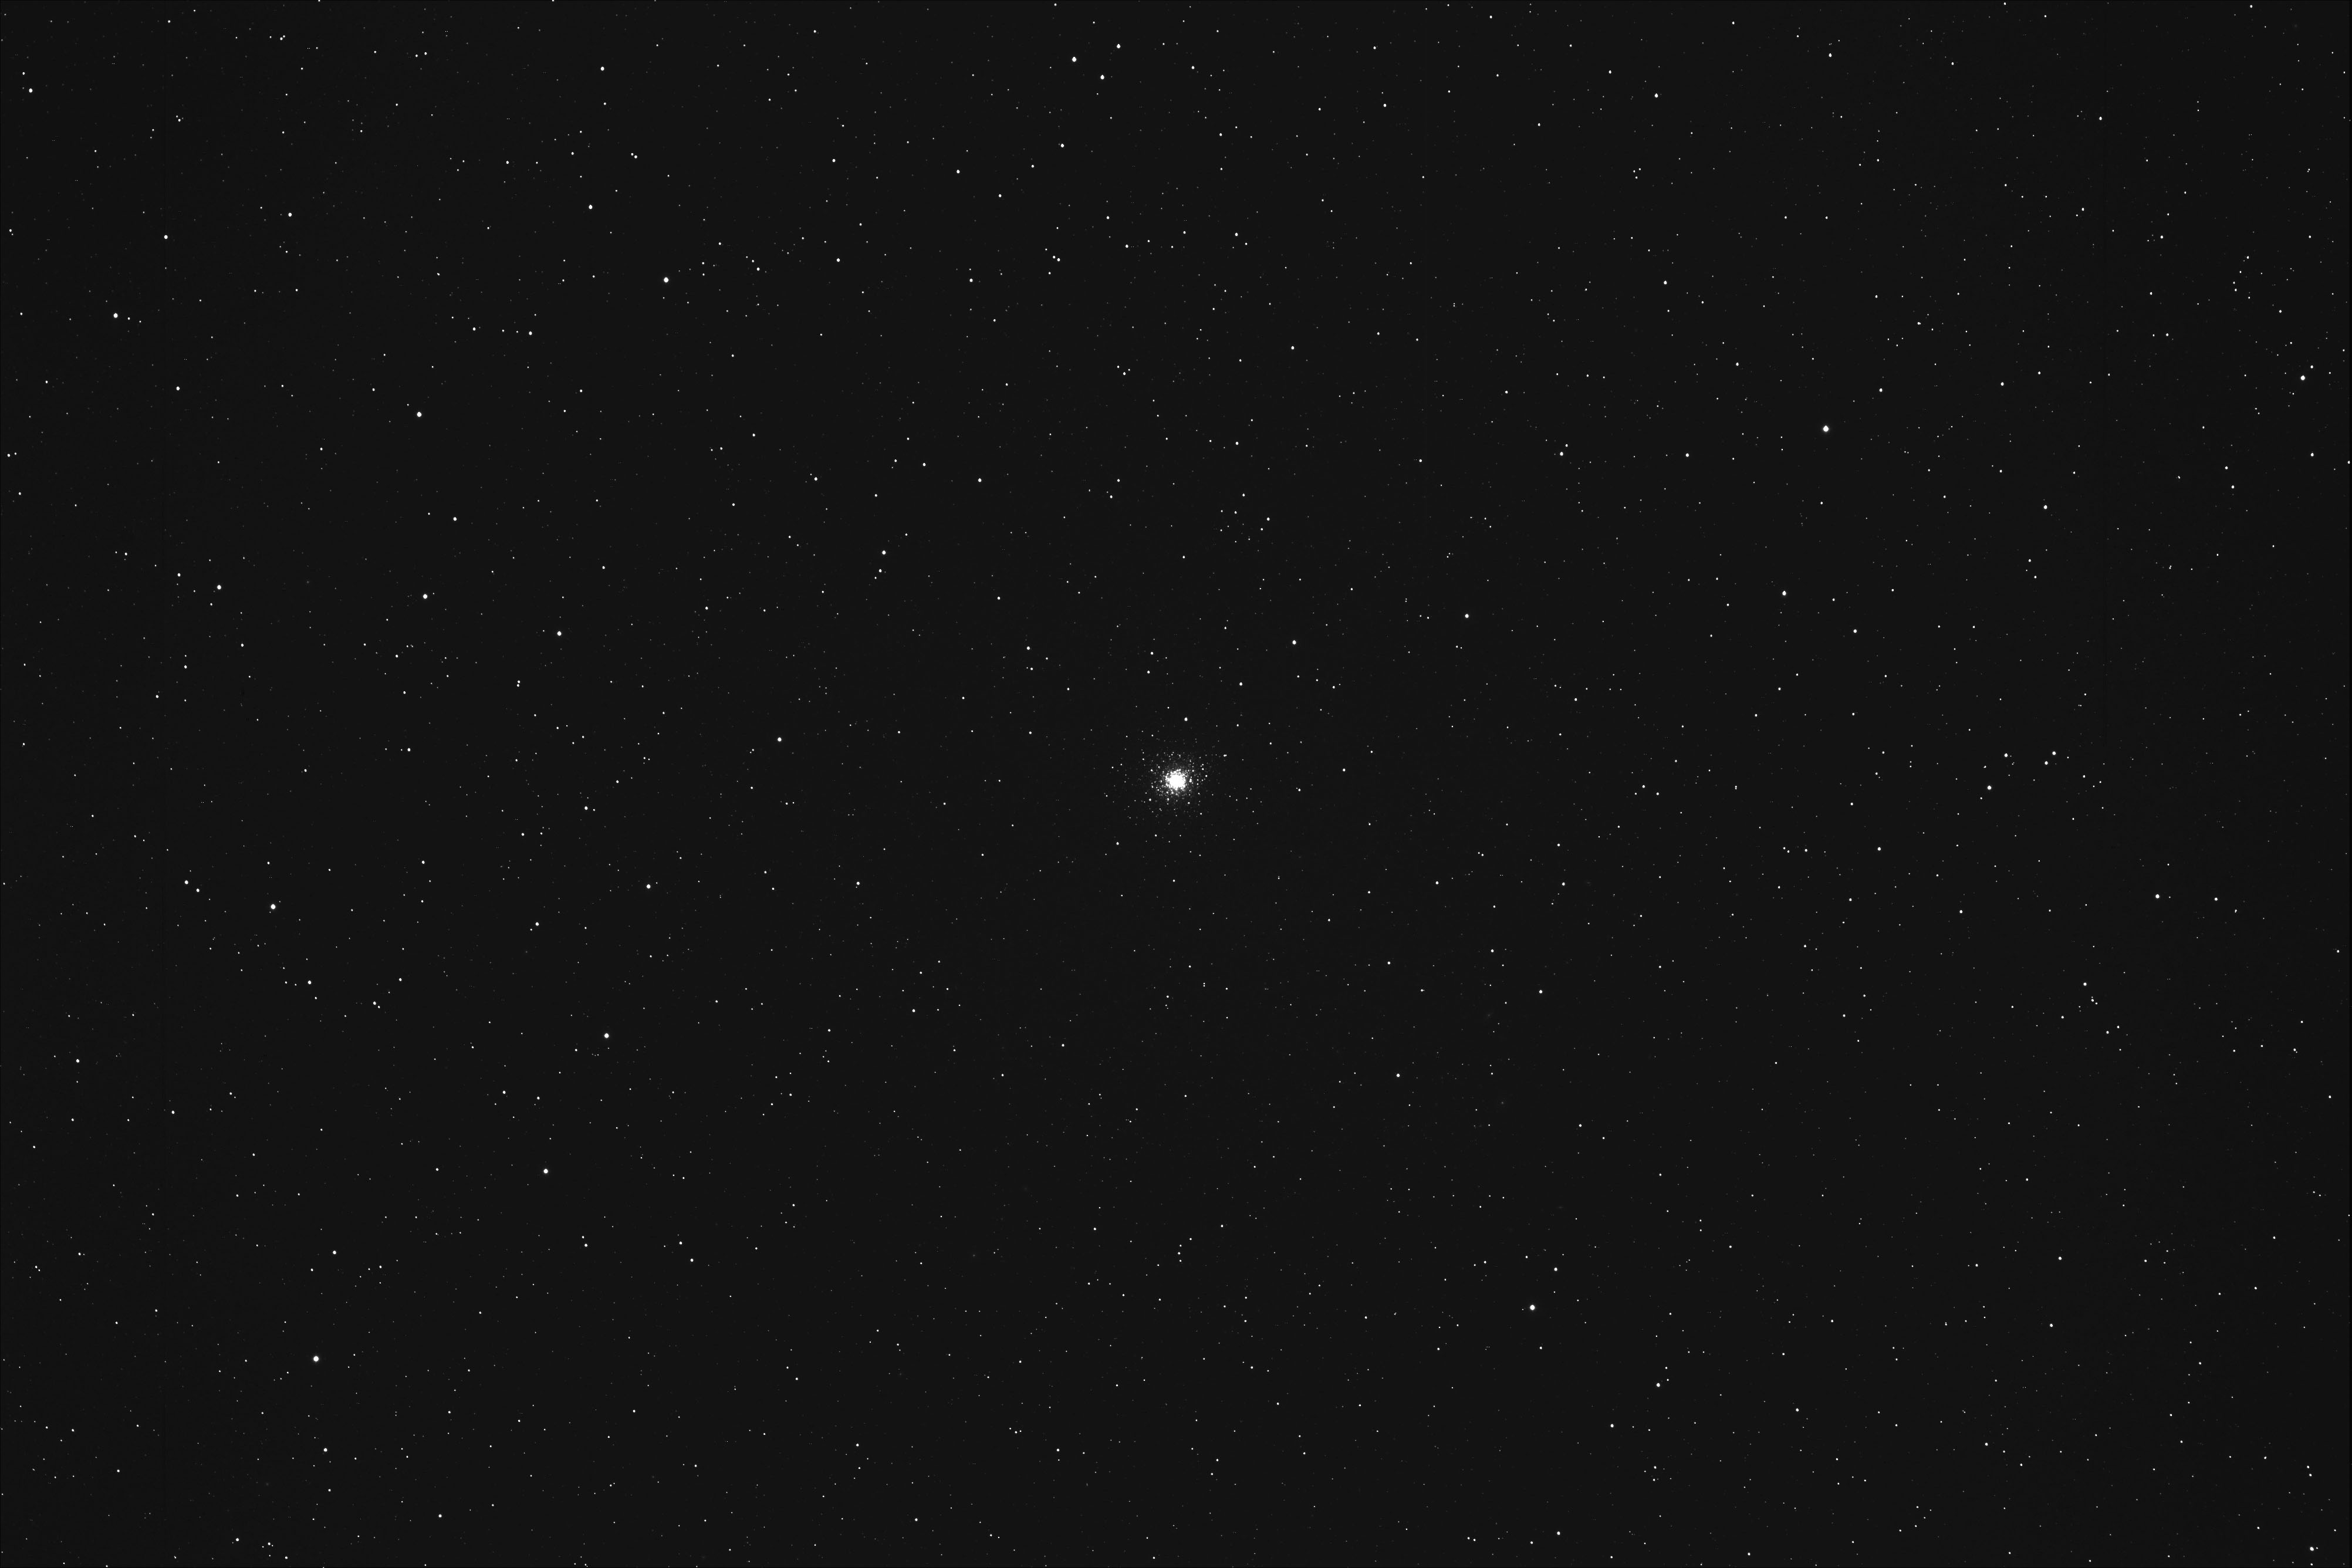
Below is the L image which is a stack of 2 600sec exposures
Below the image is the equipment information
I have to say, I don’t find this as satisfying as using my own equipment
Test of iTelescope
Telescope Optics
OTA: Takahashi FSQ Fluorite
Optical Design: Petzval Apochromat Astrograph
Aperture: 106mm (0.1 metre)
Focal Length: 530mm (.53 metre)
F/Ratio: f5.0
Guiding: External
Mount: Paramount GT-1100S
Instrument Package
CCD: SBIG STL-11000M
QE: 50% Peak
Full Well: ~50,000e- Anti Blooming Gate (ABG)
Dark Current: 0.5 e-/pixel/sec. @ 0º C
A/D Gain: 2.2e-/ADU
Pixel Size: 9um Square
Resolution: 3.5 arc-secs/pixel
Sensor: Frontlit
Cooling: Set to -15ºC default
Array: 4008 by 2672 (10.7 Mega pixels)
FOV: 155.8 x 233.7 arc-mins
Filters: LRGB, Ha, SII & OIII and V
Position Angle: 090º
Another 3D Printed Part
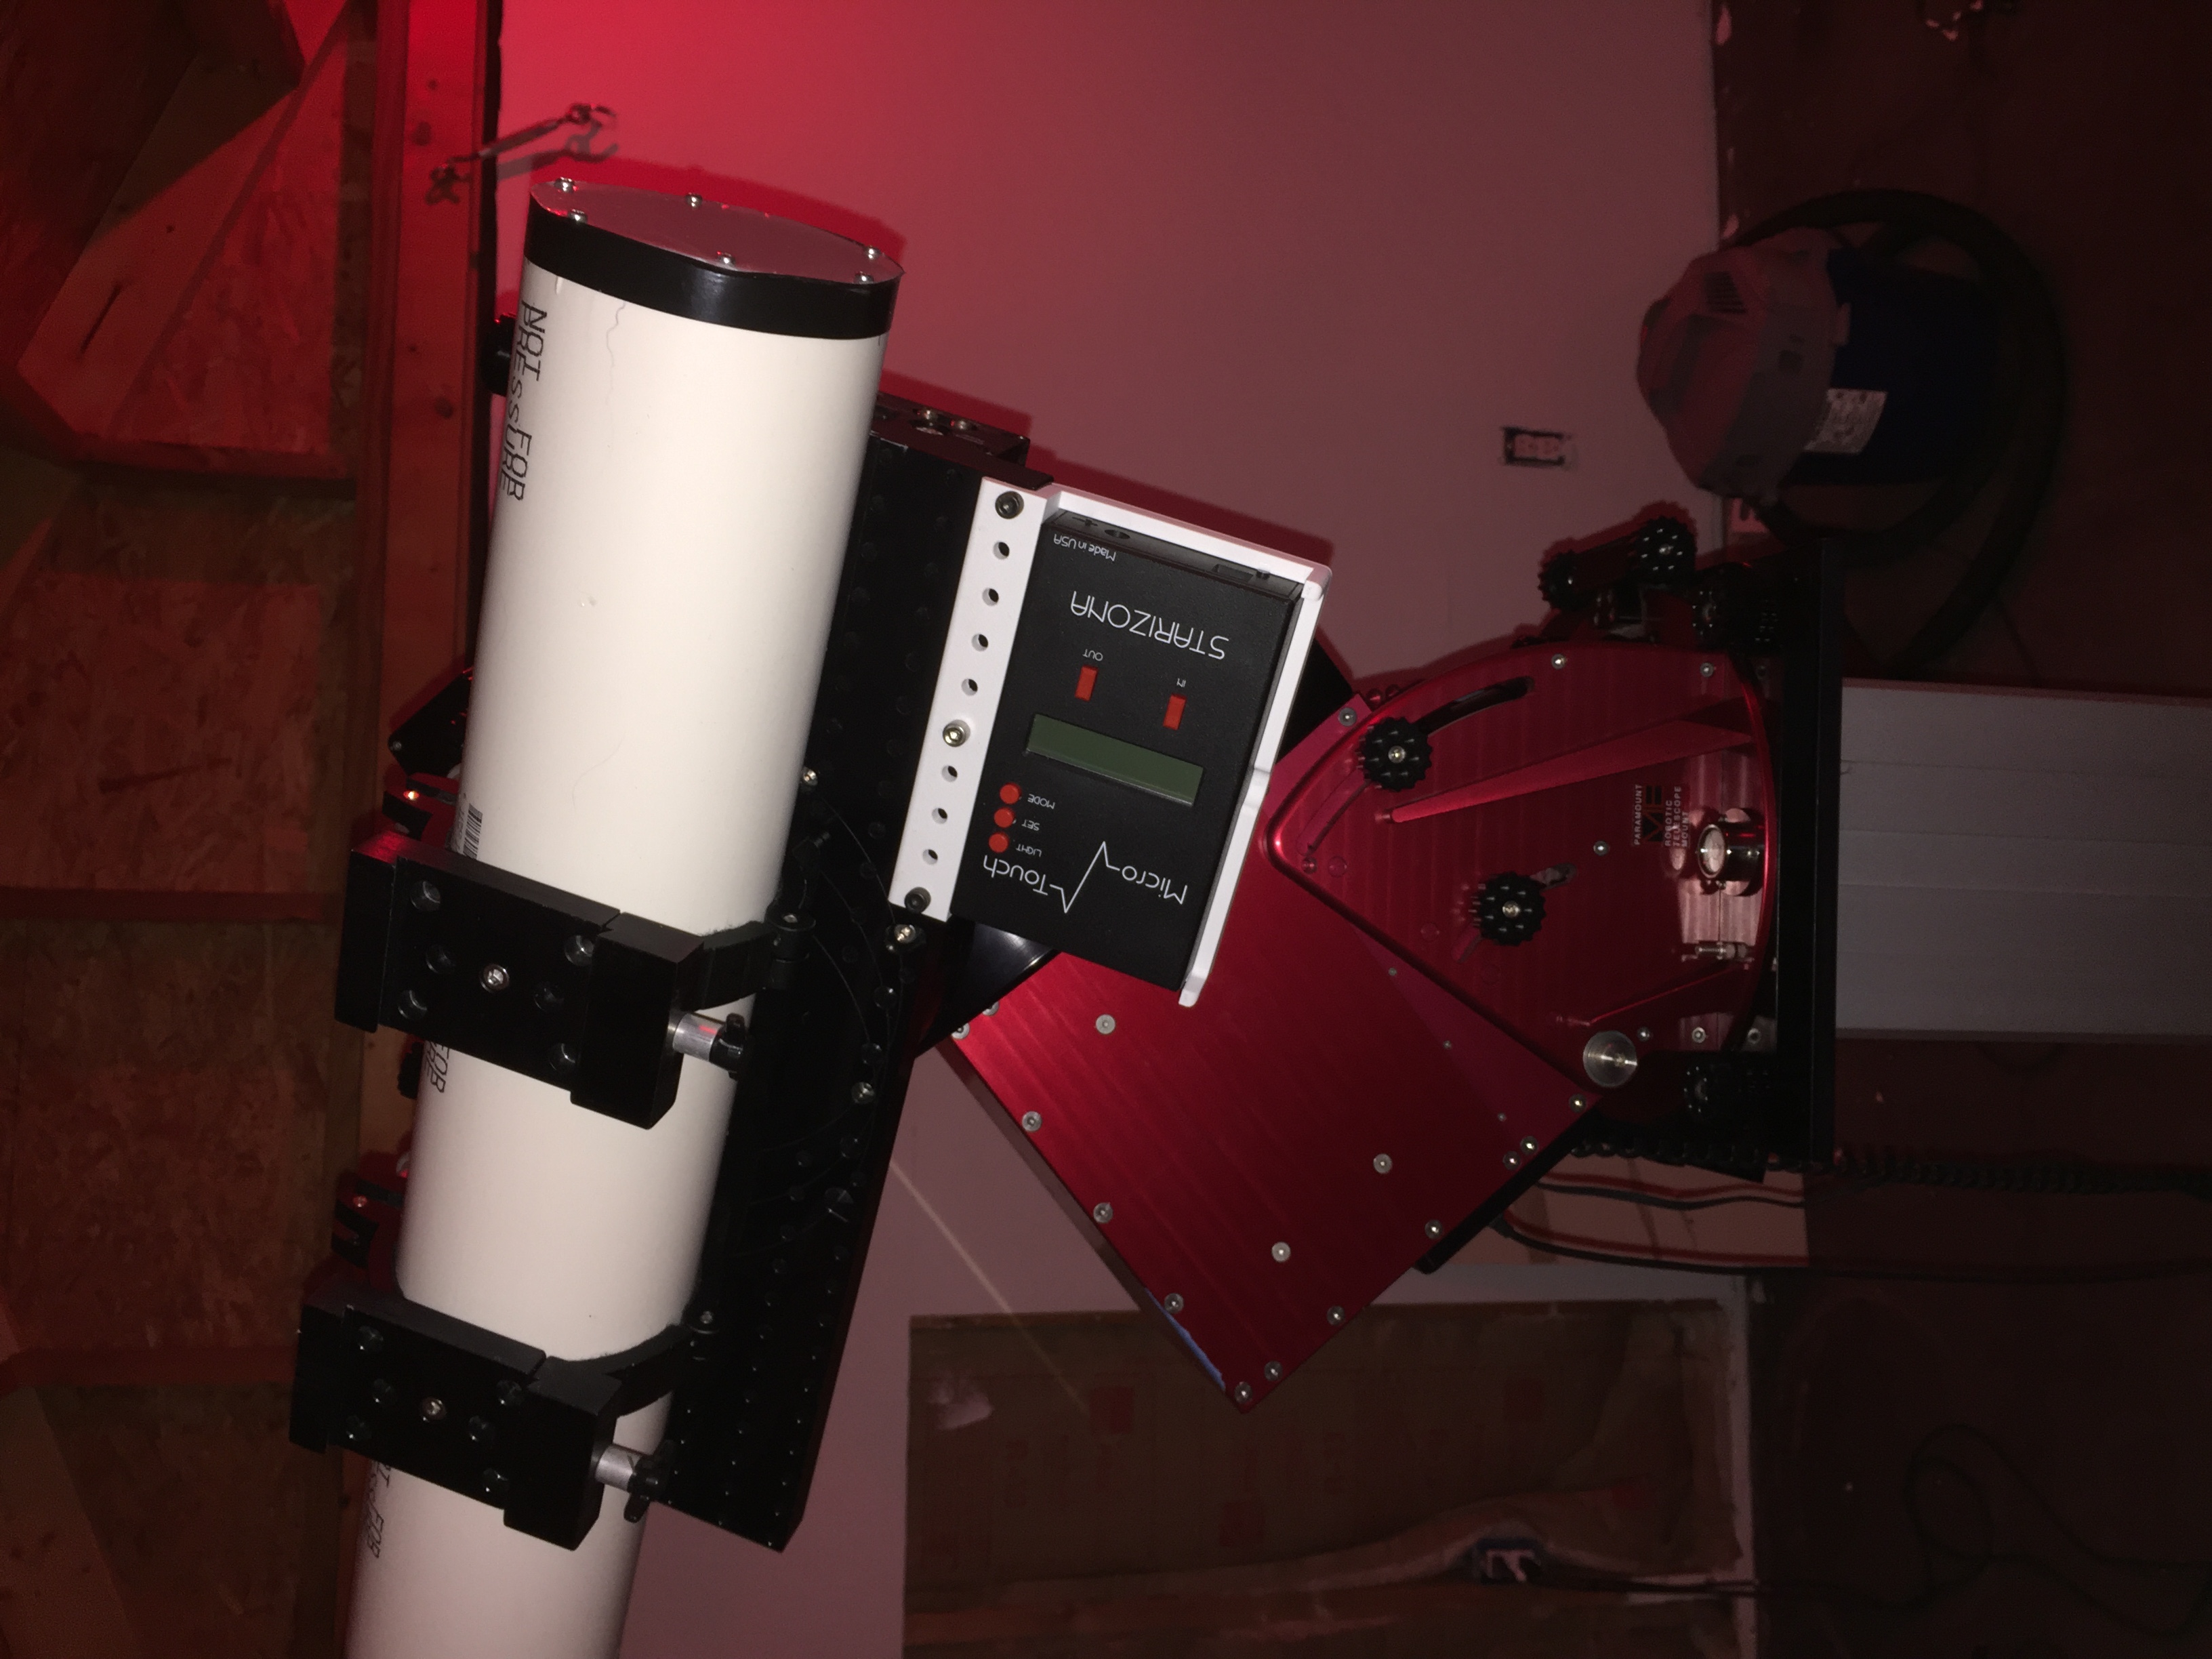
This time I designed up a holder for my Microtouch Focus Controller. This was the First Draft of the holder. The second draft has better corner support and slots to allow a strap to be used to secure the controller in place. While I designed it for a snug fit I image as it heats and cools it could come loose. I’ll attach a rendering of the new version shortly. my 3D printer is having it’s extrusion head cleaned up and tuned up so I’m not printing at the moment. BTW: it took 14 hours to print this one.
For the curious, the white PCV tube is my home made Daytime alignment tube. Pin hole plate in front and a white Plexiglas in back to project the sun. Made it really quick since I had to re-align the mount coarsely after removing it from the pier
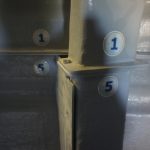
3D Printed Cover for Paramount
As I mentioned in my previous post I am re-working my thru mount cabling.
I am running a SBIG power cable thru for the STL11000M, a USB and USB Power for a Hub to be mounted on the versa-plate and possibly a power cable for an older SX7C camera.
I have designed the plate in Autodesk Inventor and printing my test one to check how it fits and it’s pretty darn close.
Here is the test fitting
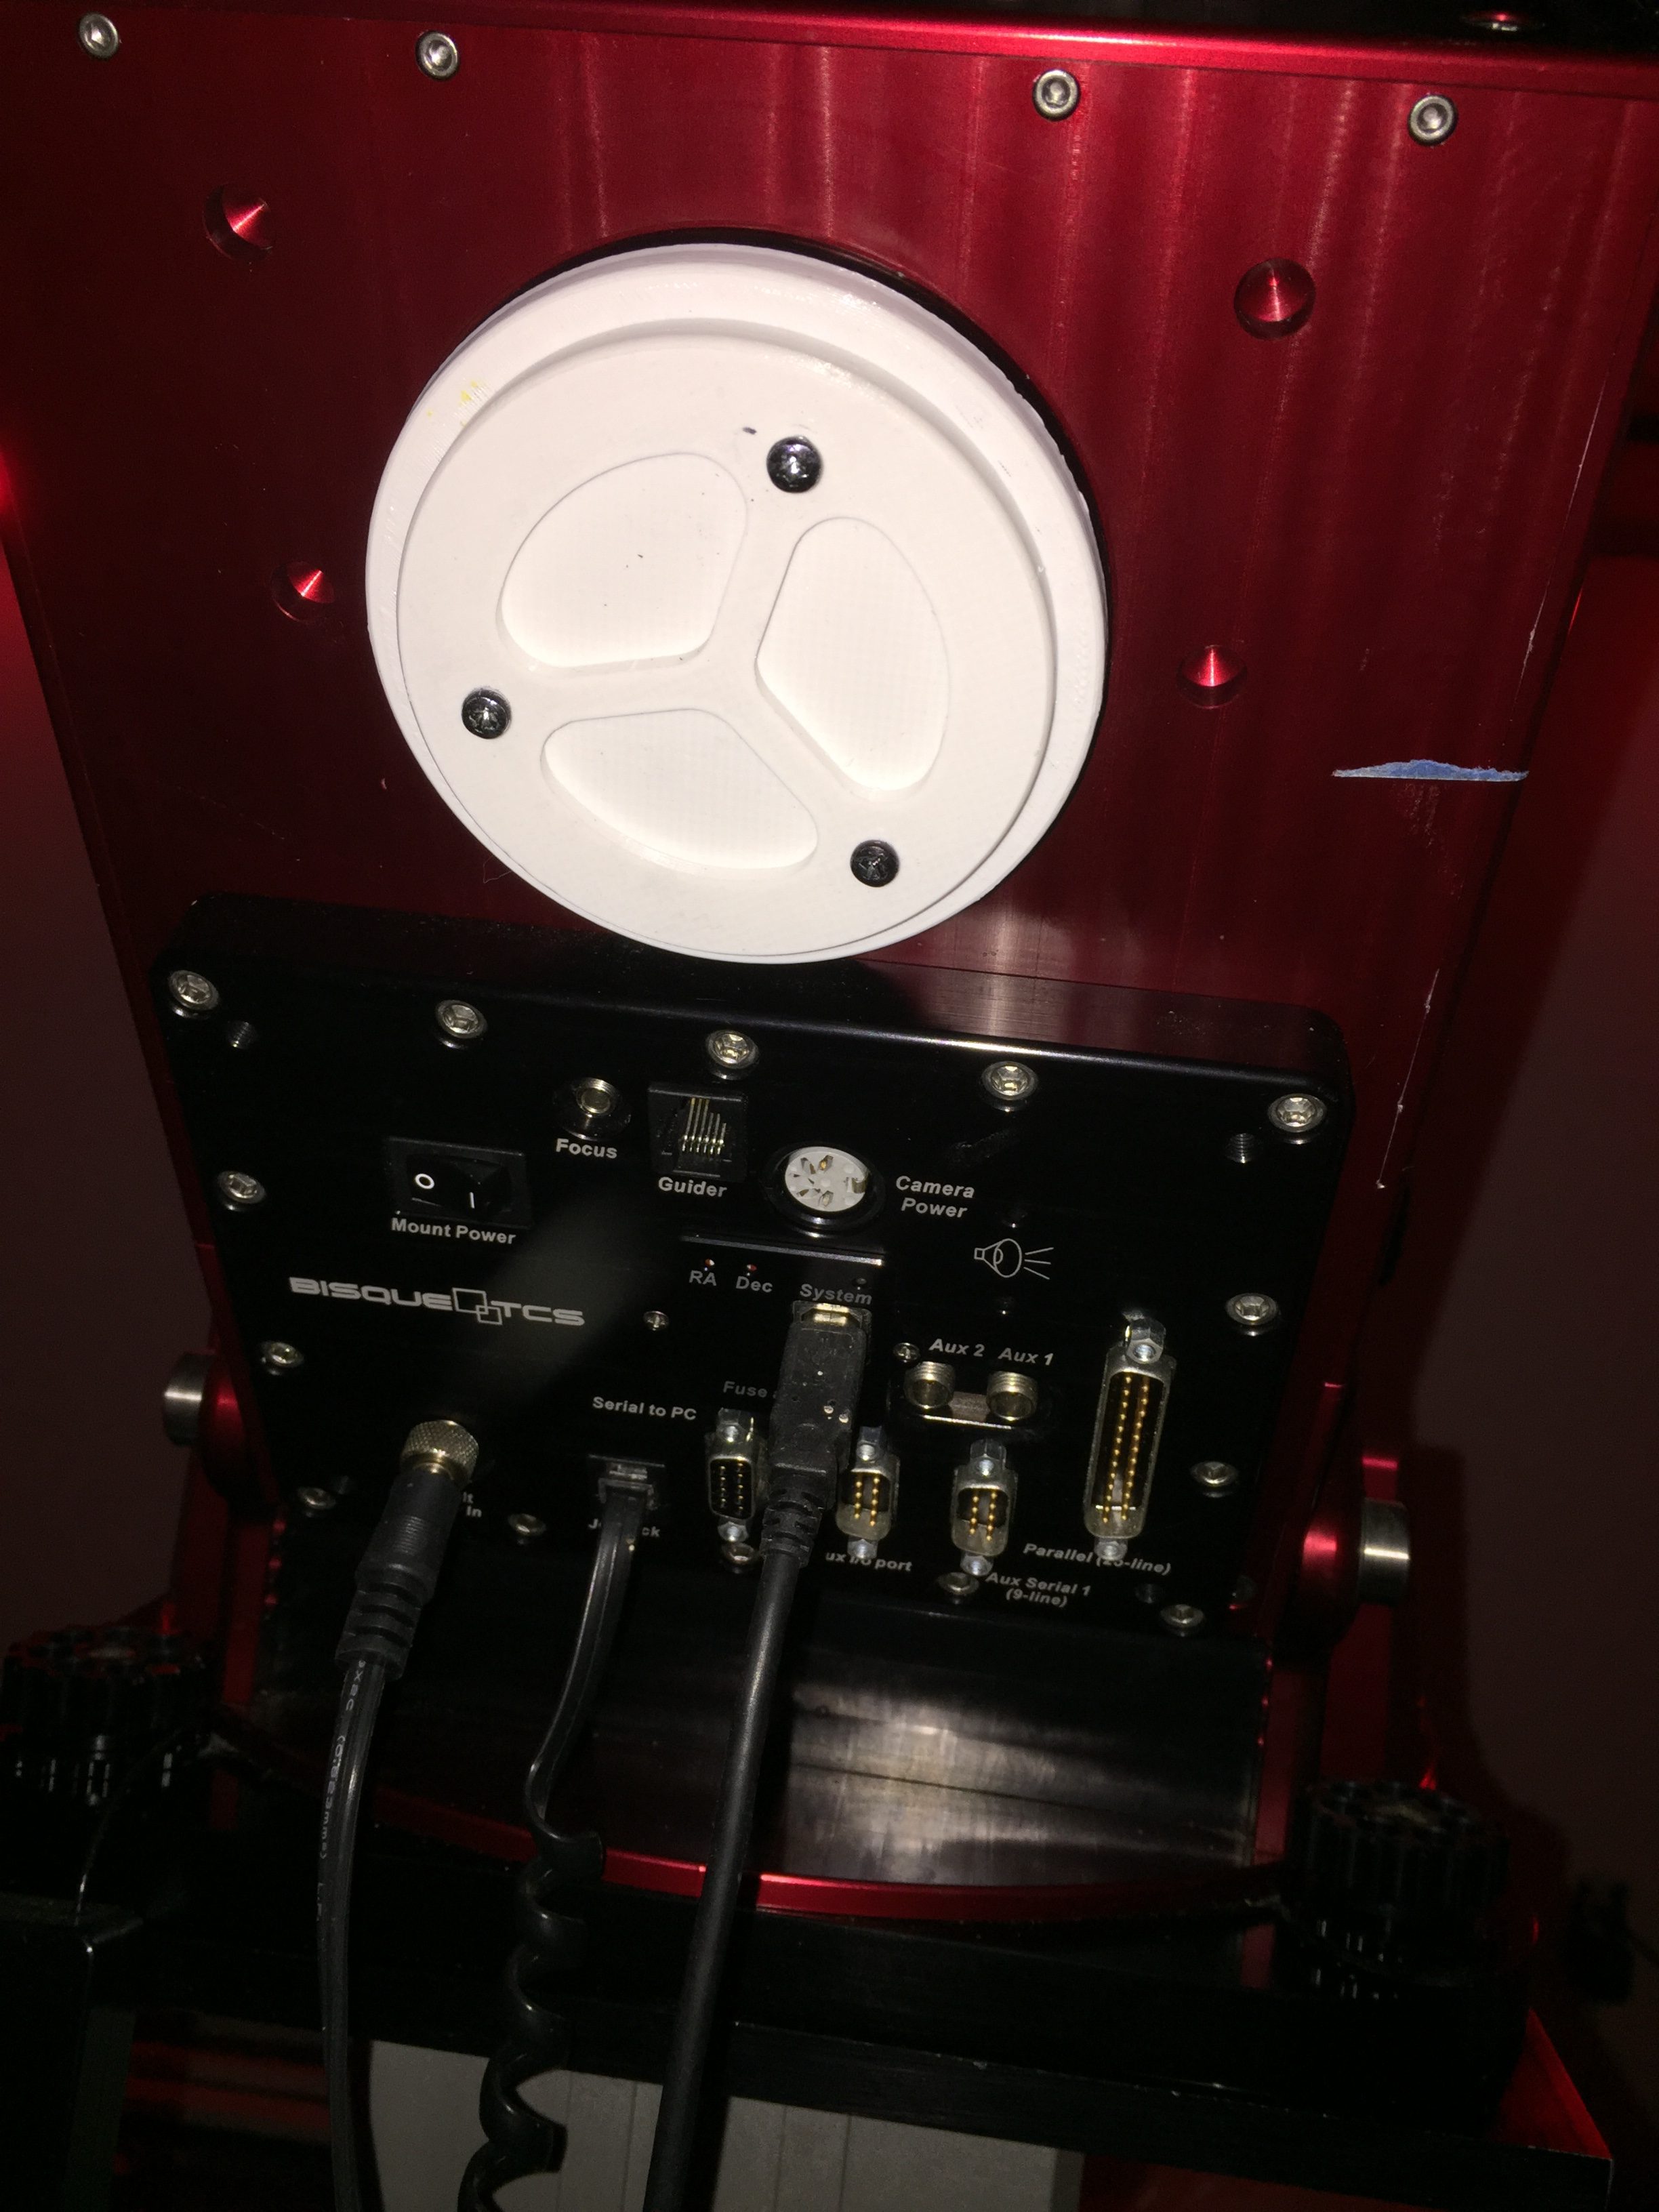
A quick view from the side.

For extra “Anti-Mouse” enforcement. I added some steel wool as packing. Though I”m not sure of what if any electrical interference it might cause (or prevent).
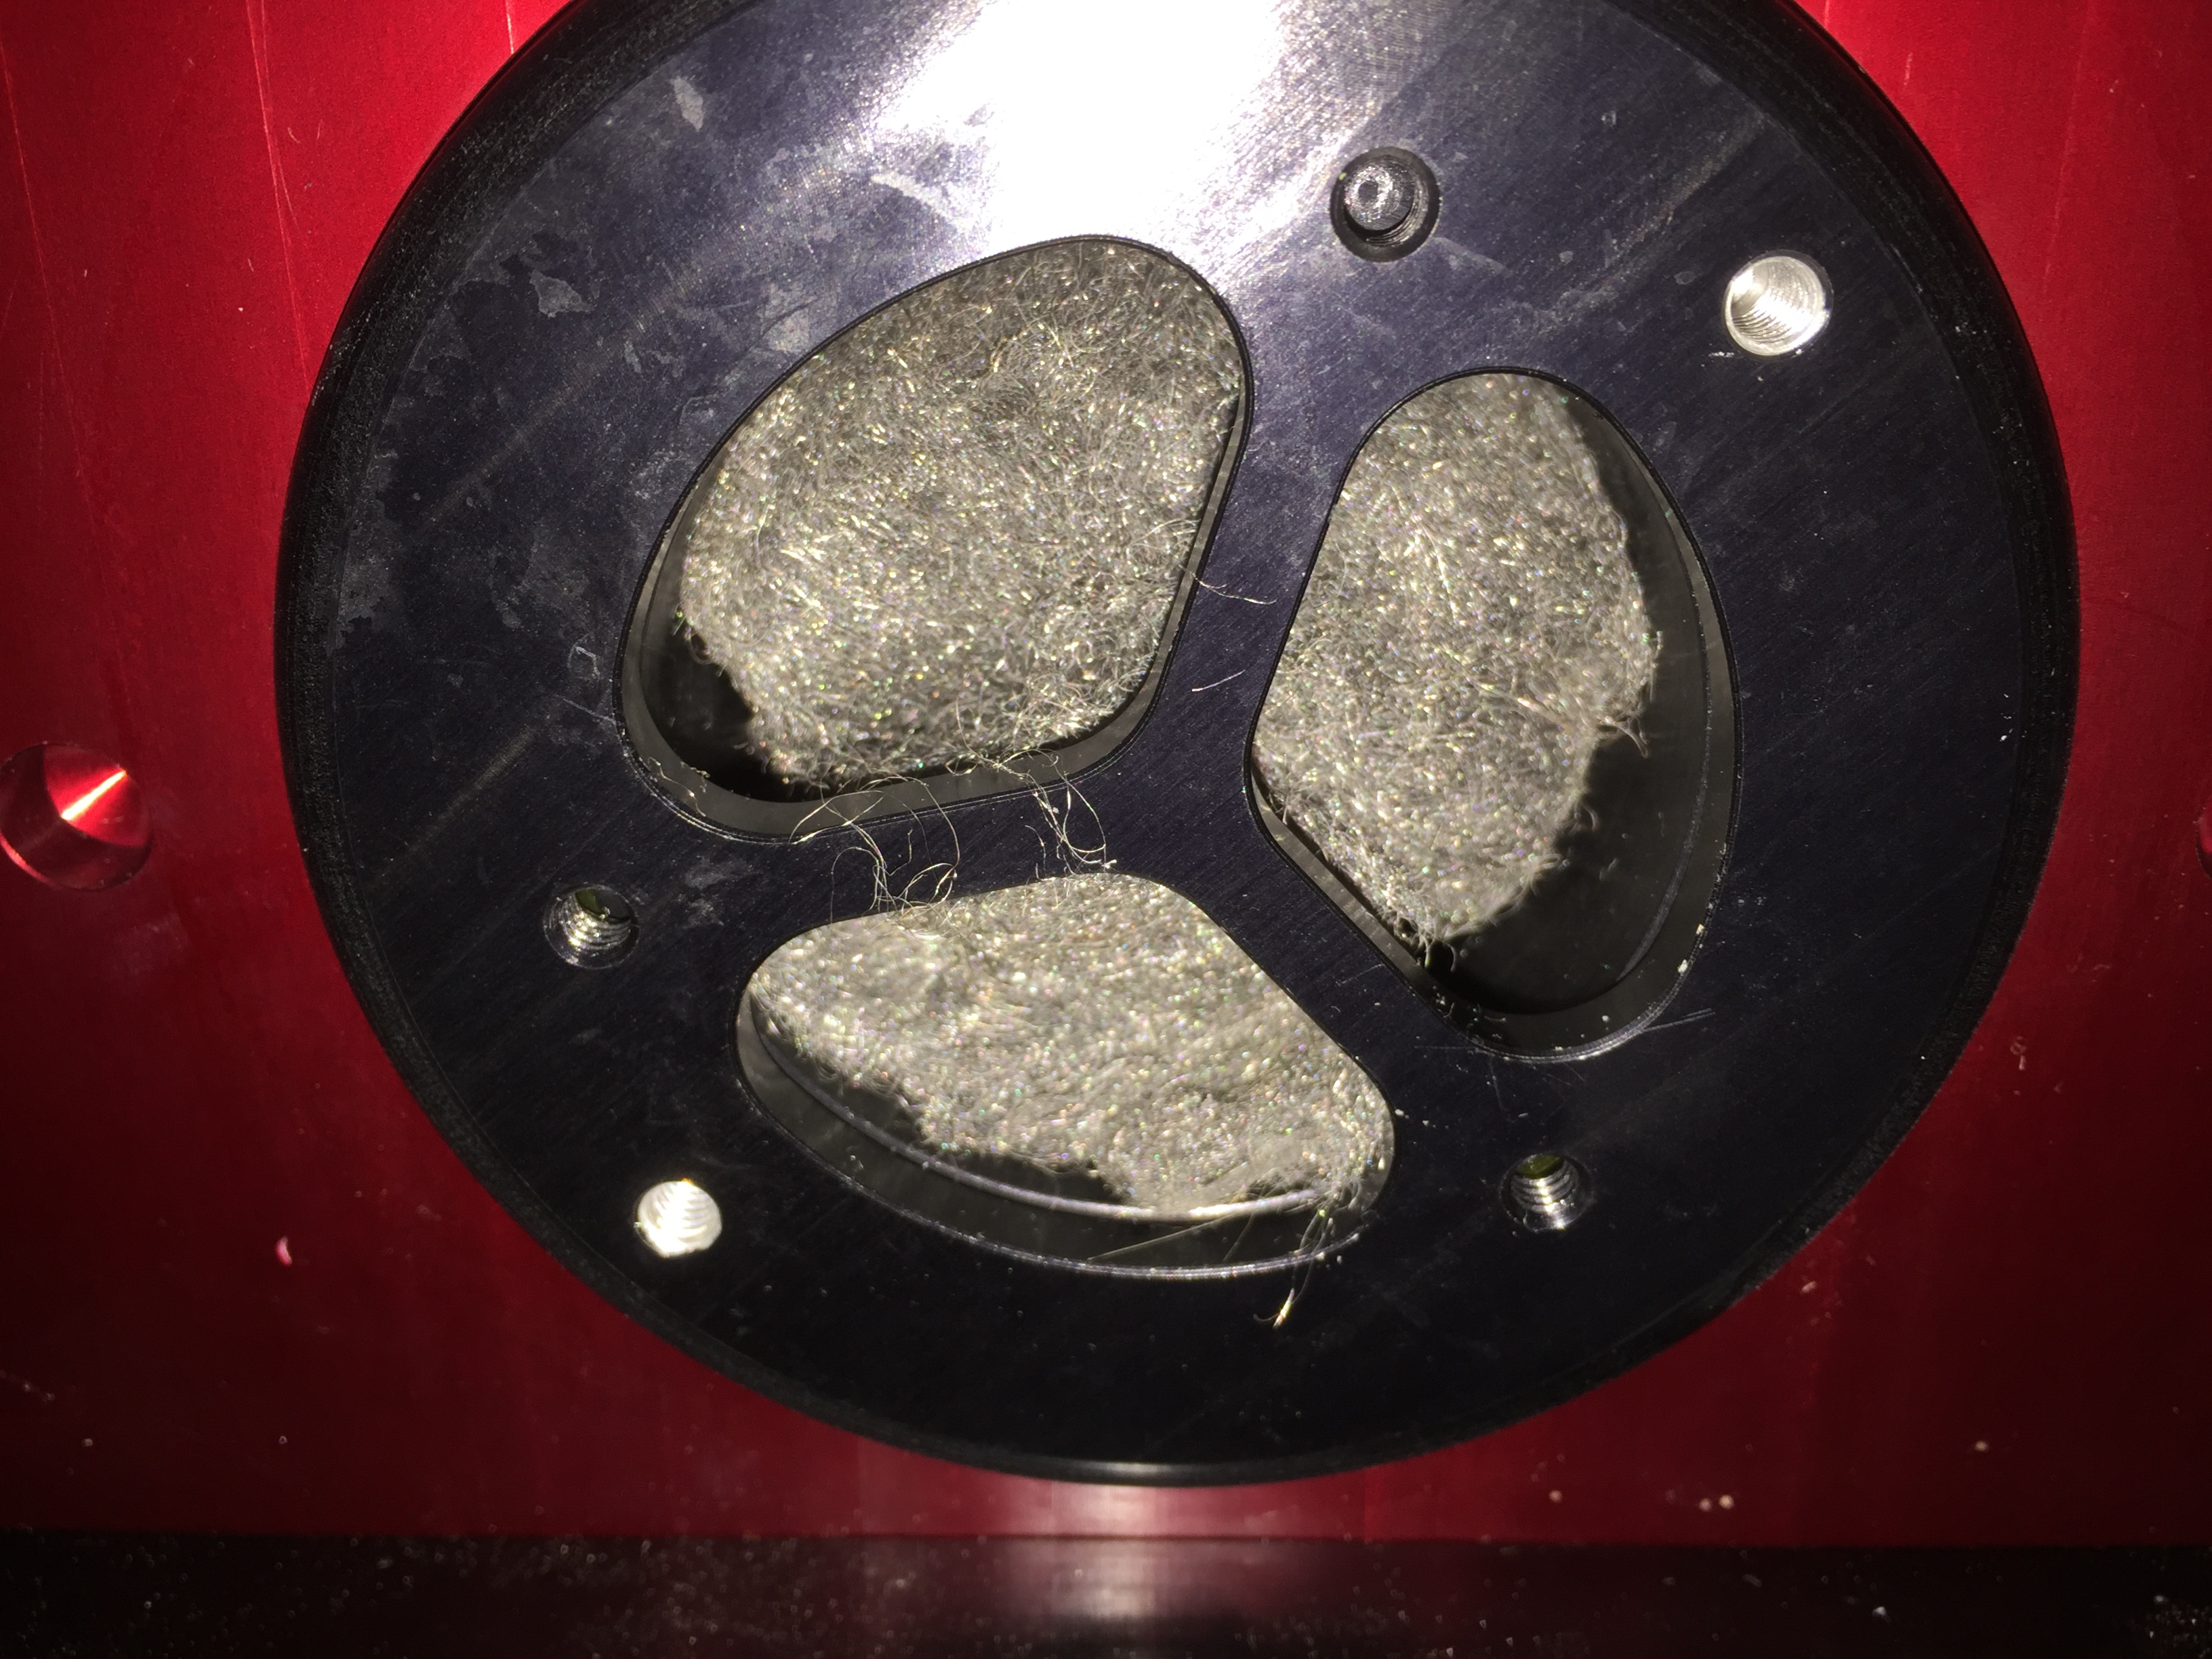
The larger disc is a copy of the actual back on the mount (for testing in the house) and is not part of the real part but I left it because my screws are to long and needed the extra length to attach it properly. I will probably post to thingverse when it’s finished. for anyone to print. I plan on painting it black to match the Paramount when finished.